How do I setup a form?
New Form Creation
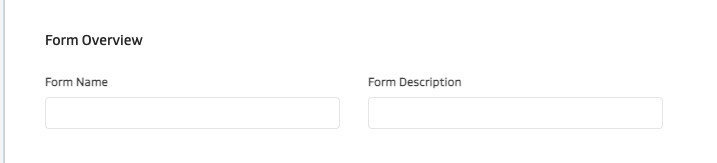
Go to Form Mgmt on the Web Admin. Click Add New.

Add the Form Name and Description
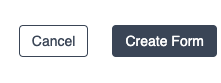
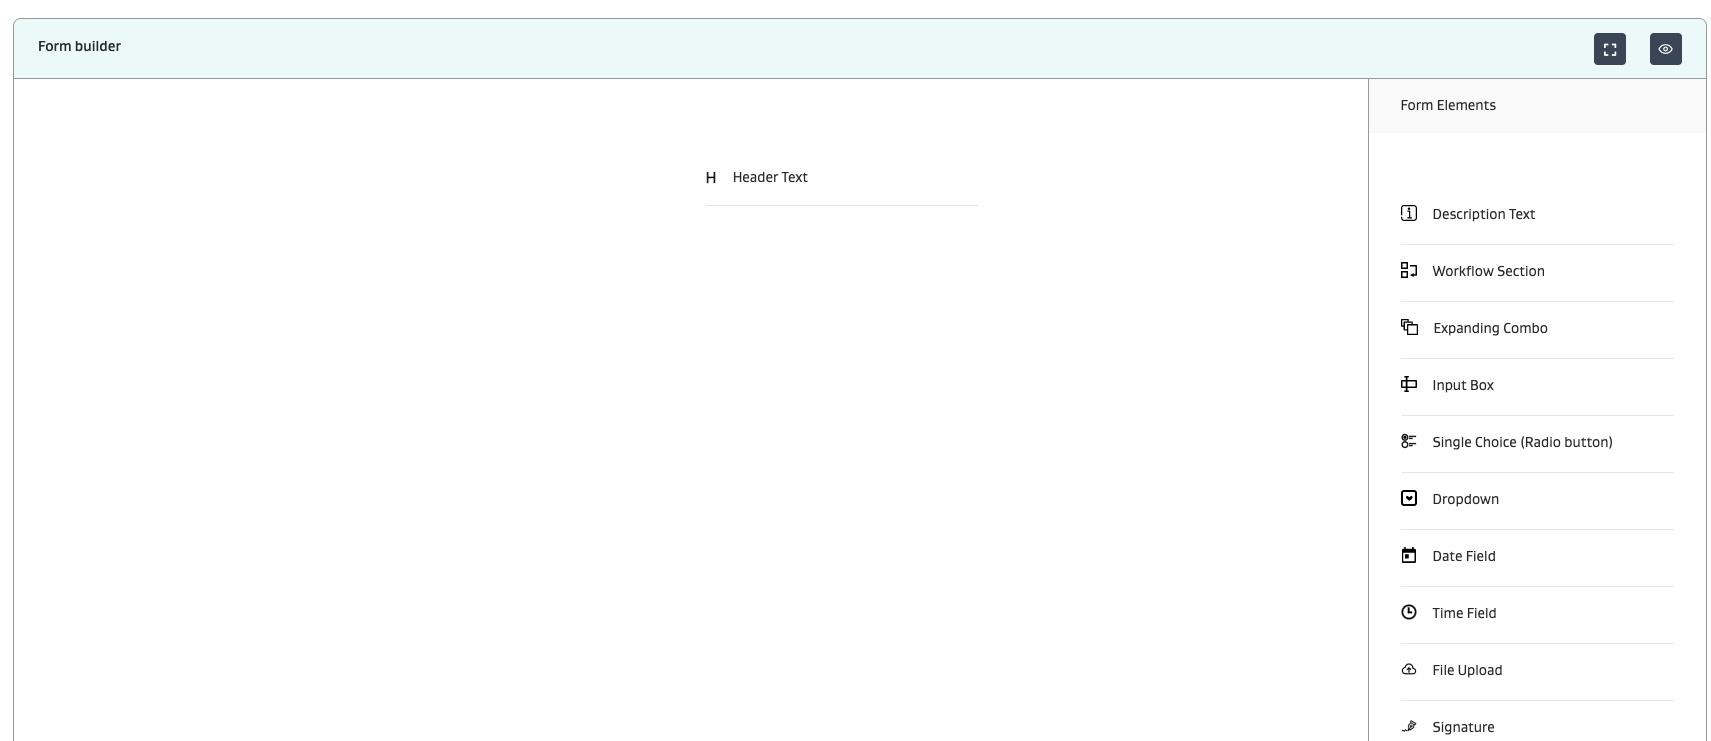
On the form builder canvas, start dragging and dropping Form Elements into the canvas. Then click Create Form
Once setup, the form will start to look like this:
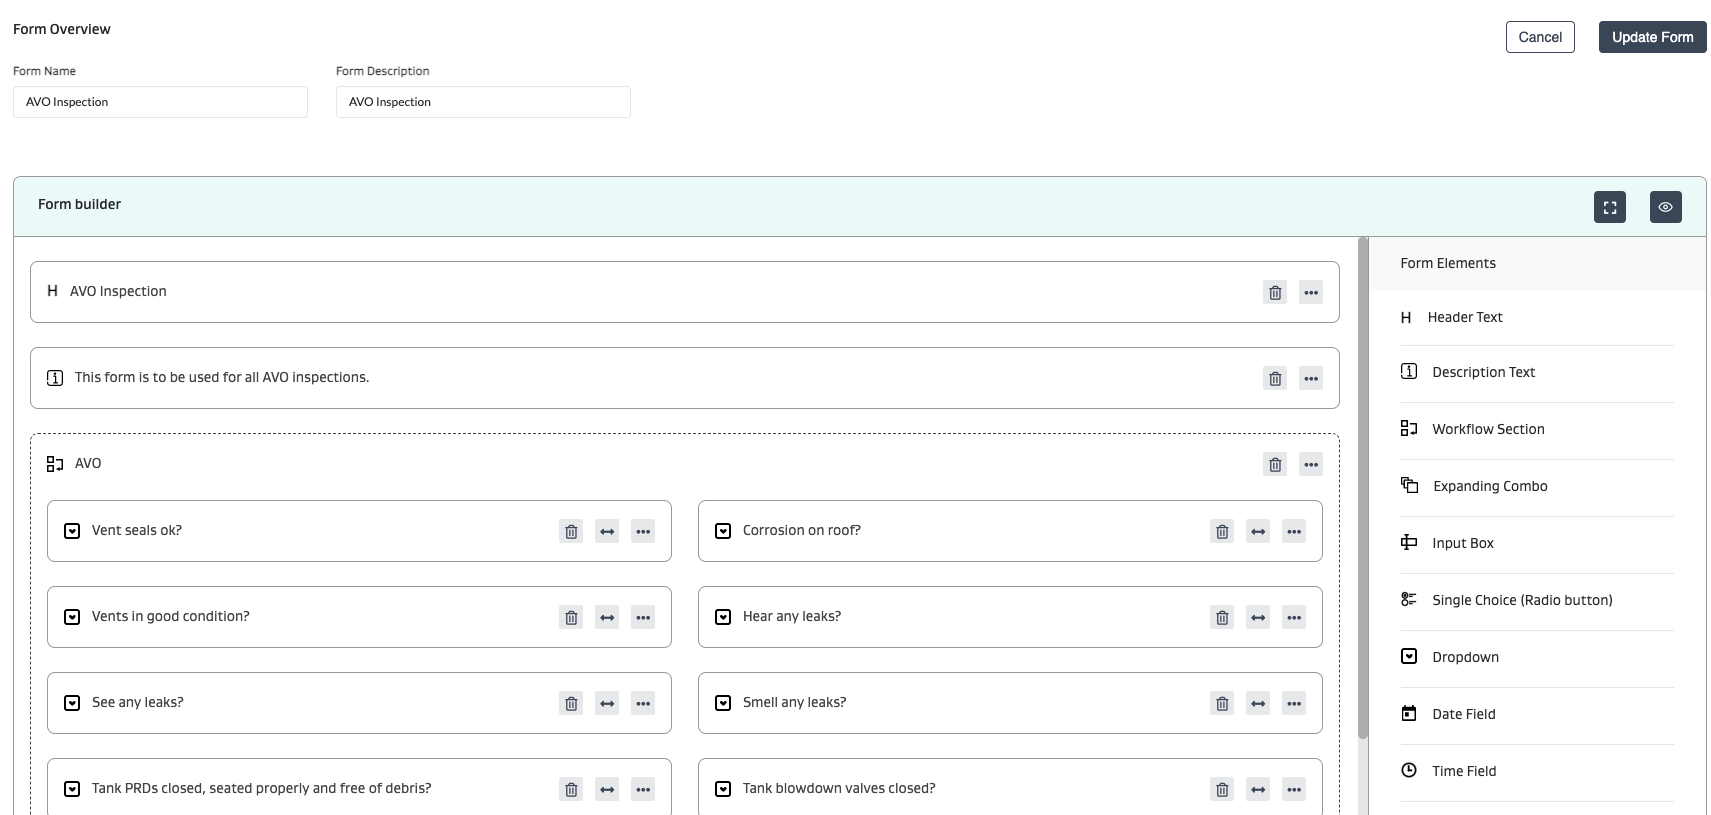
IMPORTANT: How to use the Workflow Section Element
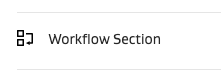
Ensure you use the Workflow Section for any attribute fields that you require for the following use cases:
You need the field mobile app user to fill these out. If the form element is outside of the workflow section, the field mobile app user will only be able to view them and not fill them out
Use multiple form sections for parent-child workflows where each sub task owner needs to fill out a different section of the form. See here for more info:https://wenergysoftware.atlassian.net/wiki/spaces/Production/pages/edit-v2/456786030#Parent-Form-mapping%3A
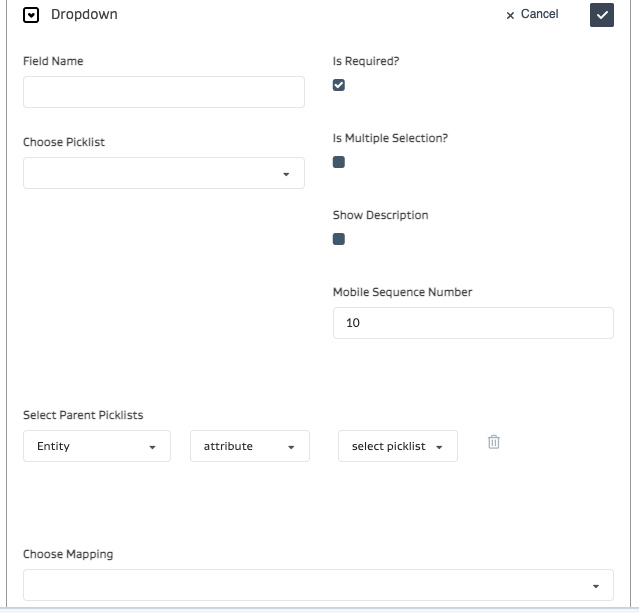
Setting up each element is easy. Simply click the 3 horizontal buttons and setup the details.
Ensure you click the checkmark to update the element.
And ensure you hit the Update Form button to save all changes.
CAUTION: Failure to perform both of these actions will result in losing all changes made.
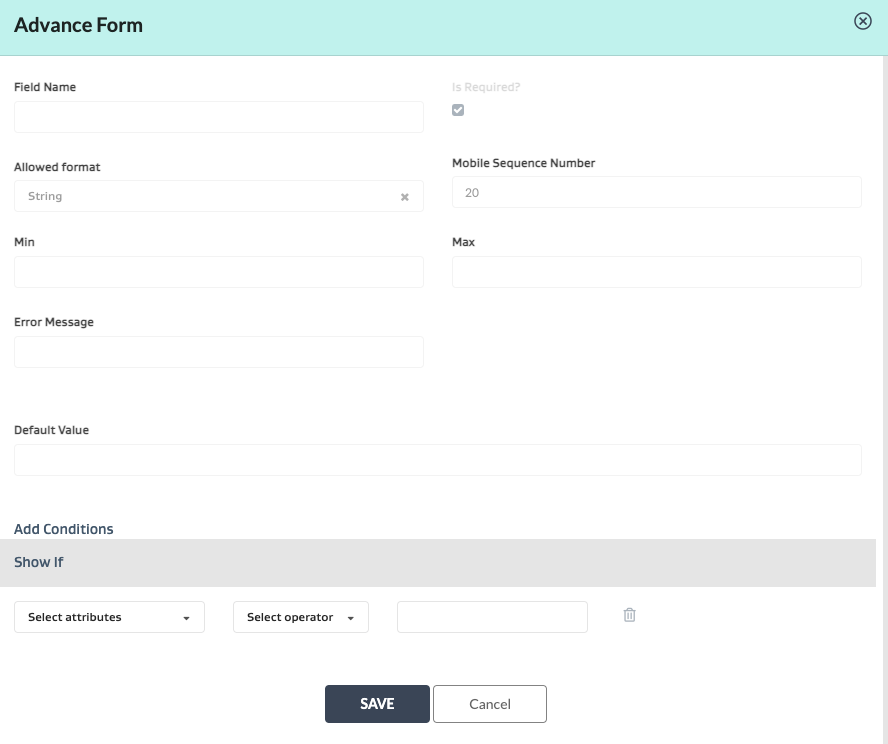
Advanced Form Setup - Conditionally showing/hiding attribute fields
You can also do Advanced Setup to enter logic to only show certain attributes when certain conditions of other attributes within the same form are met:
What do each of the form elements do?
Element | Description |
|---|---|
Header | [Self Explanatory] |
Description | Predefined/Preset Informational text |
Workflow Section | Ensure you use the Workflow Section for any fields that you require for the following use cases:
|
Expanding Combo | NOTE: Only works on Admin; Does not function on Mobile App Repeats upto 2 attributes by pressing “+” on the interface to repeatedly fill them out. For e.g. repeatedly filling out a lock number and a lock location for LOTO until all lock points are completed. |
Input box | Free text entry - can be setup as string, integer, decimal, etc |
Single Choice Radio Button | [Self Explanatory] Note this feature is seldom used. Most customers prefer to use the Dropdown option. |
Dropdown | Picklist - can be single/multiselect |
Date Field | [Self Explanatory] |
Time Field | [Self Explanatory] |
File upload | [Self Explanatory] |
Signature | e-Signature |
Date/Time Field | [Self Explanatory] |
Metadata Dynamic List | Picklist that is driven by metadata logic. The metadata picklist has to be setup and configured properly. |
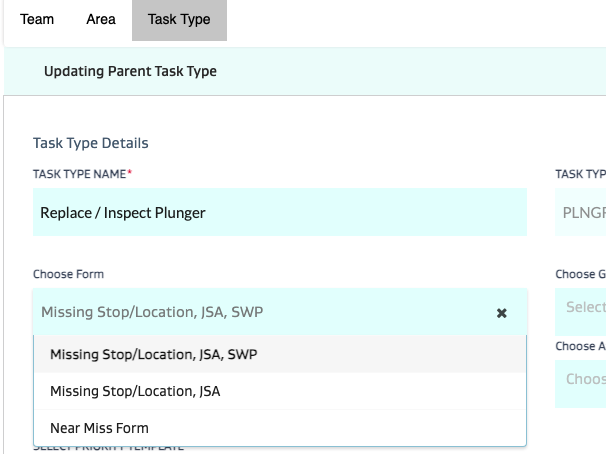
Form Mapping to Task Type Template
NOTE: The below instructions will help you setup a form. To actually utilize the form as part of a task, ensure you map it to a specific task type in the task type setup.
Parent Form mapping
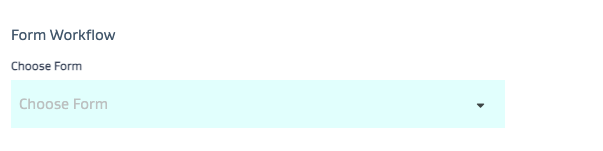
See dropdown in parent template to choose form
Then map each form section to the pertinent child task type
Regular Task Type Form mapping:
See dropdown in regular template to choose form
Detailed Examples for Parent-Child Task Form Workflows
Example | Scenario 1 | Scenario 2 |
|---|---|---|
Parent Task - Form Mapping exists? | Yes | Yes |
Number of Form Sections | 3 | 3 |
Number of Child tasks in Parent | 3 | 3 |
Form Section - Child Task Mapping exists? | No | Yes as follows: Form Section 1 mapped to Child Task 1 Form Section 2 mapped to Child Task 2 Form Section 3 mapped to Child Task 3 |
Resulting Behavior | All child task owners can edit any section of the form | Assignee of Child Task 1 can view the entire form, but only edit Form Section 1 Assignee of Child Task 2 can view the entire form, but only edit Form Section 2 Assignee of Child Task 2 can view the entire form, but only edit Form Section 2 |
- How many different ways can I use file attachments on a task? When should I use each one?
- How do I setup a form?
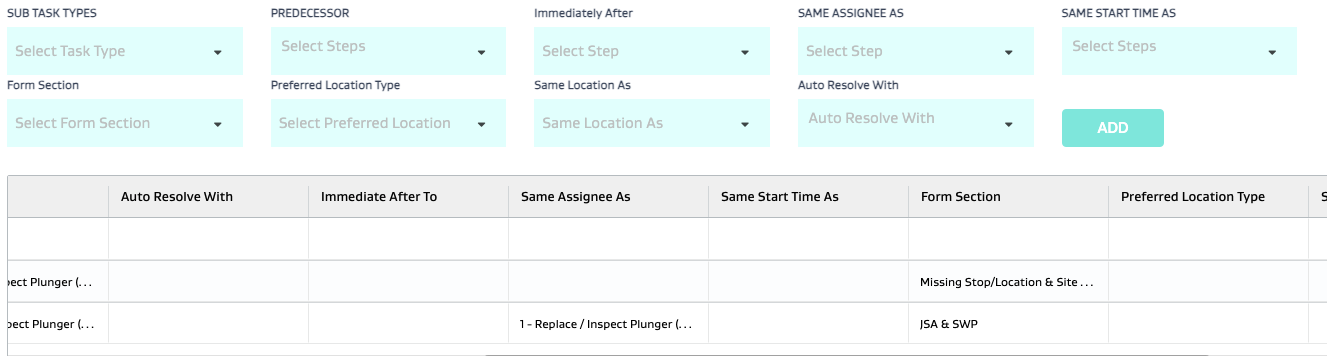
- What do all the different dependency options mean while creating a Parent-Child Template?
- How do picklists work in FSM?
- How do I create Dynamic or Ad Hoc Parent Child Tasks?
- What is the difference between a task type attribute, a global attribute and a form attribute?
- How do I set up FSM?
- How do I set up a task type?
- How do I attach metadata attributes to equipment or wells?